This year I wanted to try and fill in some of the gaps on my tree and make a garland for my kitchen window. I would like to make a garland with greenery and the dried oranges at some point, but it won’t be this year as I am quickly running out of time! So it’s coming up very quickly on Christmastime. I would love to at some point be the person who gets prepared early on with making her dried oranges, homemade wreaths, and Christmas puds, but I feel like I’m 5-7 years away from that lofty goal.
But when that day comes this would be my vision:


Dried Orange Garland
These are one of my favourite easy completely compostable if you use the right thread to hold the garland together; if you would rather dispose of them than store them. Although, I have heard that if you dry the oranges properly, you can use them again for a few years. The wreath I bought at a craft year this year has dried oranges, limes, clementines, and pomegranates on it, and it’s stunning, so you can do this with almost anything.
I did this last year, and because I was moving early in the new year I composted them so I have not tested their storability. I also don’t think I dried them quite long enough because they were still a bit sticky. So I’m not sure they would have stored very well.
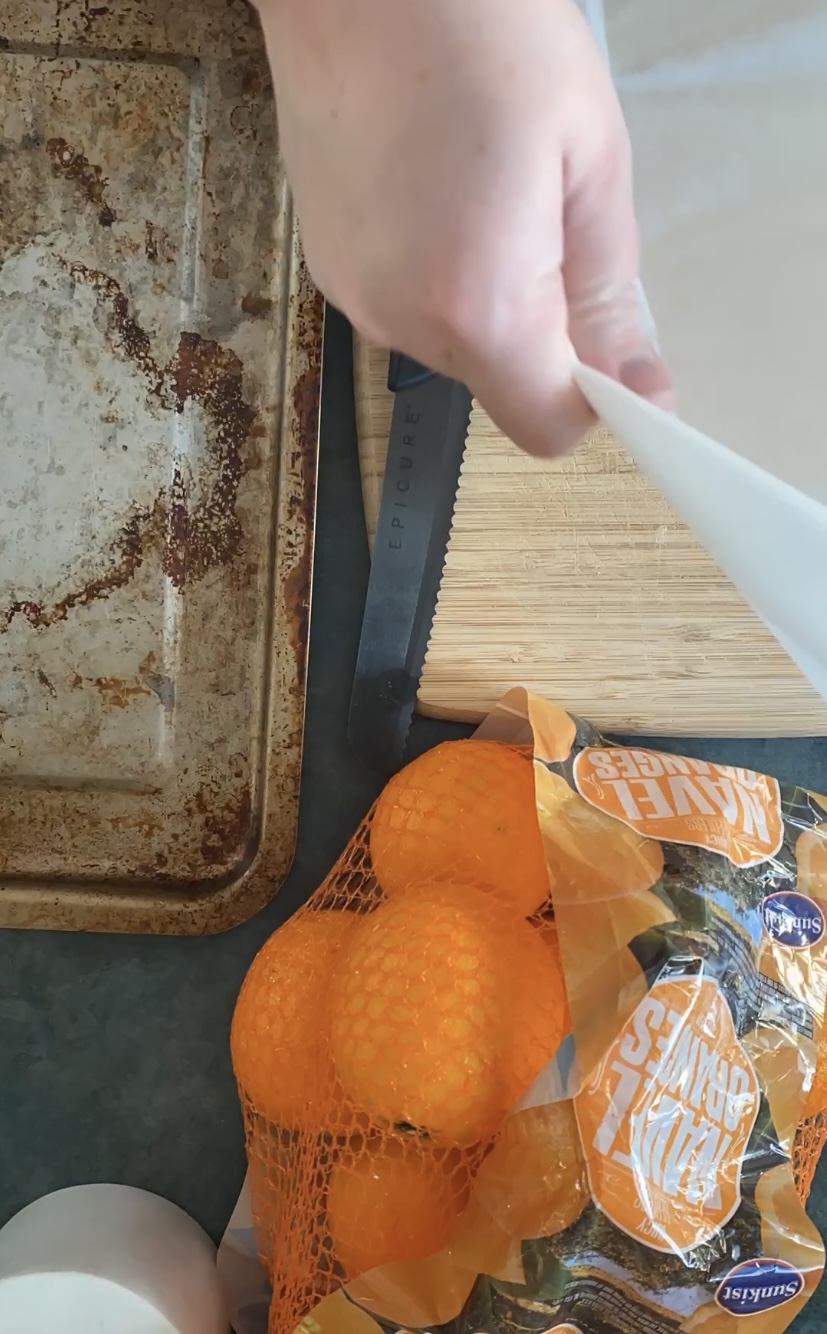
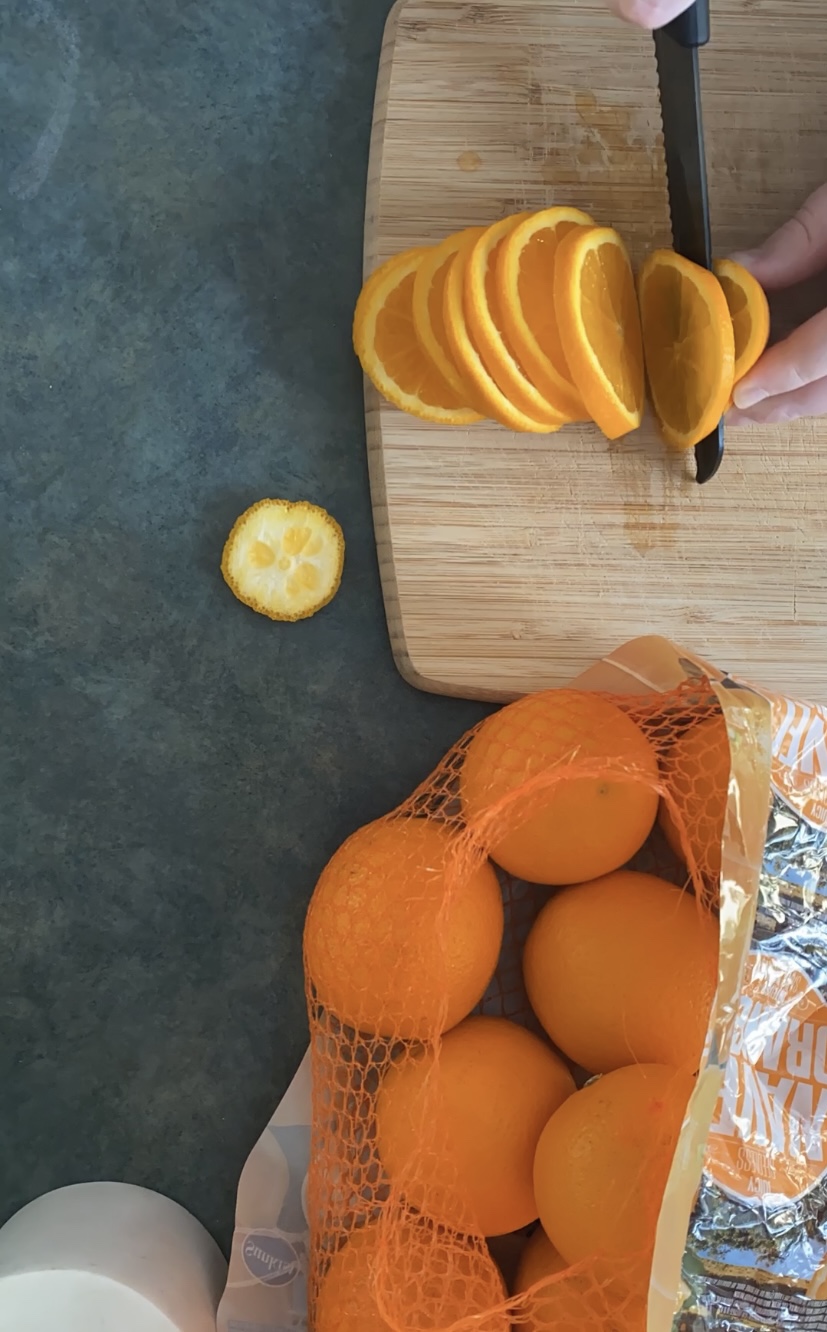

Drying oranges is very easy, if painfully slow. You won’t need to be active for much of the process just there to babysit your oven. I set my oven to it’s lowest available temperature (200F, although I read a few recipes that suggested 175F, but I can’t do that). Sliced my oranges decently thin, if you have a mandolin you could probably get them more even than I can slicing them by hand. I then lined baking sheets with parchment paper and laid the oranges out, close together, but never overlapping. and put them in the oven. I set my timer for four hours and flipped halfway through.
If you have a rack that you can put in the oven that will eliminate the flipping step, but if you don’t the baking sheets work just fine!
I am using some leftover needlepoint wool that I don’t know the brand of (so I won’t be using it to needlepoint because I can’t match the rest of the project to it) to string them and a very used needlepoint needle, although you could use a big plastic needle as well, I just don’t have one at the moment. Or, last year when I didn’t have a needle to spare, I wrapped a piece of masking tape around the twine I was using and used that as a “needle”. You don’t need much force to piece the dried orange flesh, just something firmer than the string.
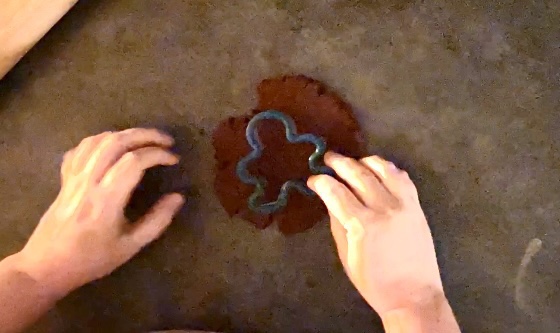
“Gingerbread Men”
I have to apologize for the quality of these pictures, I didn’t turn on the “big light” because it gives me a headache and I regret it now. However, these are so easy to make and they last forever.
For these you will need:
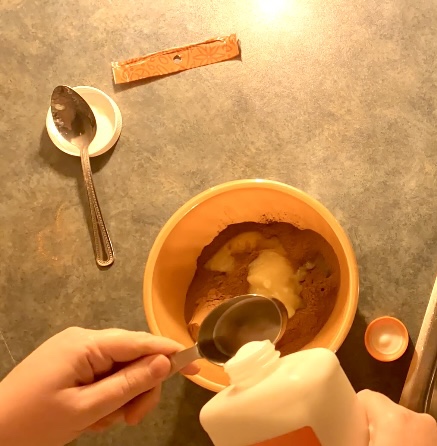
1 cup cinnamon (I used the bagged stuff, I thought I would need 2 bags, but I only needed one!)
1/4-1/3 cup applesauce
1/4 cup craft glue.
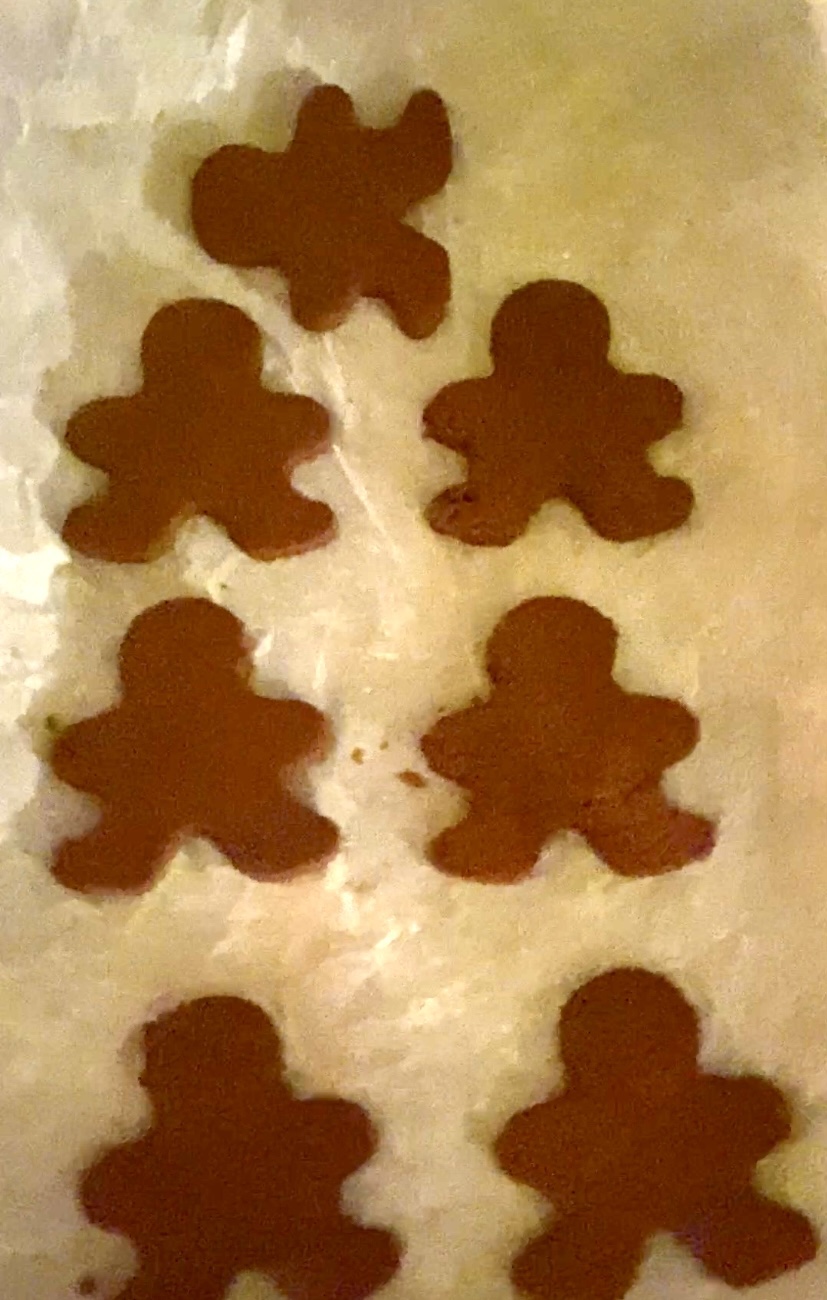
You mix them all together, it will be crumbly. And then knead until properly combined. Roll out and use a cookie cutter to cut out your desired shape. You can re-knead, re-roll, and repeat cutting out shapes until you run out of dough. I got 7 gingerbread men out of this, and I used about 1/3 applesauce, I measured out 1/4 cup and then added a bit more until the cinnamon and glue came together.
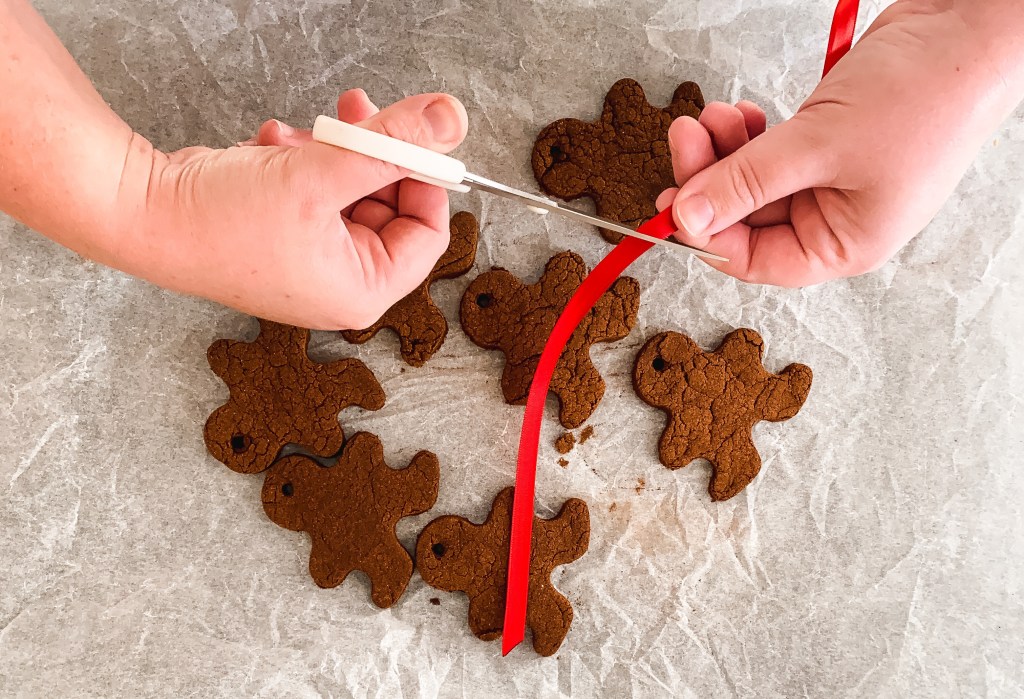
Then this is an important step, that I forgot until I was an hour in to the bake, poke holes into their little heads so you can hang them.
You then bake them for 2 hours at 200F or apparently you can air dry them for 24 hours. Which I might do next time, because the sneezing that happened while these were baking was like nothing that I have ever experienced before. I think if I had an extractor fan it wouldn’t have been so bad, but I don’t. They did smell amazing while they baked though.


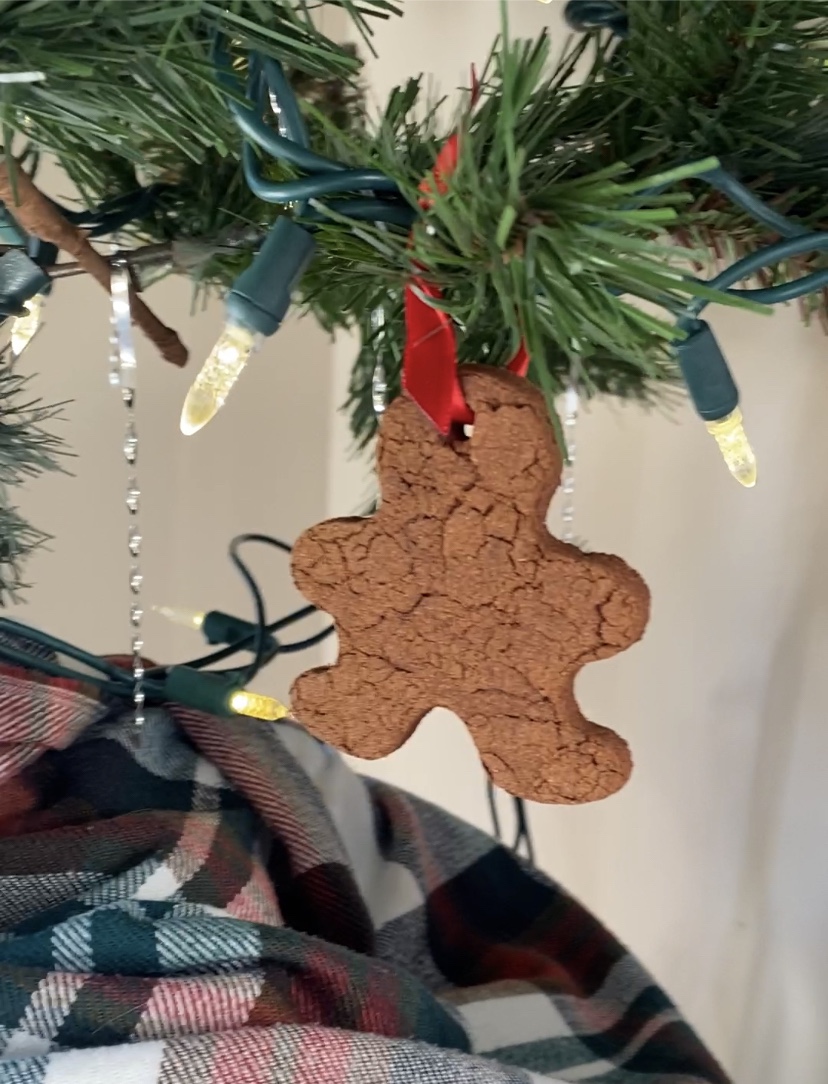
Then once they are baked and cooled you can string them with ribbon and hang them in your tree!
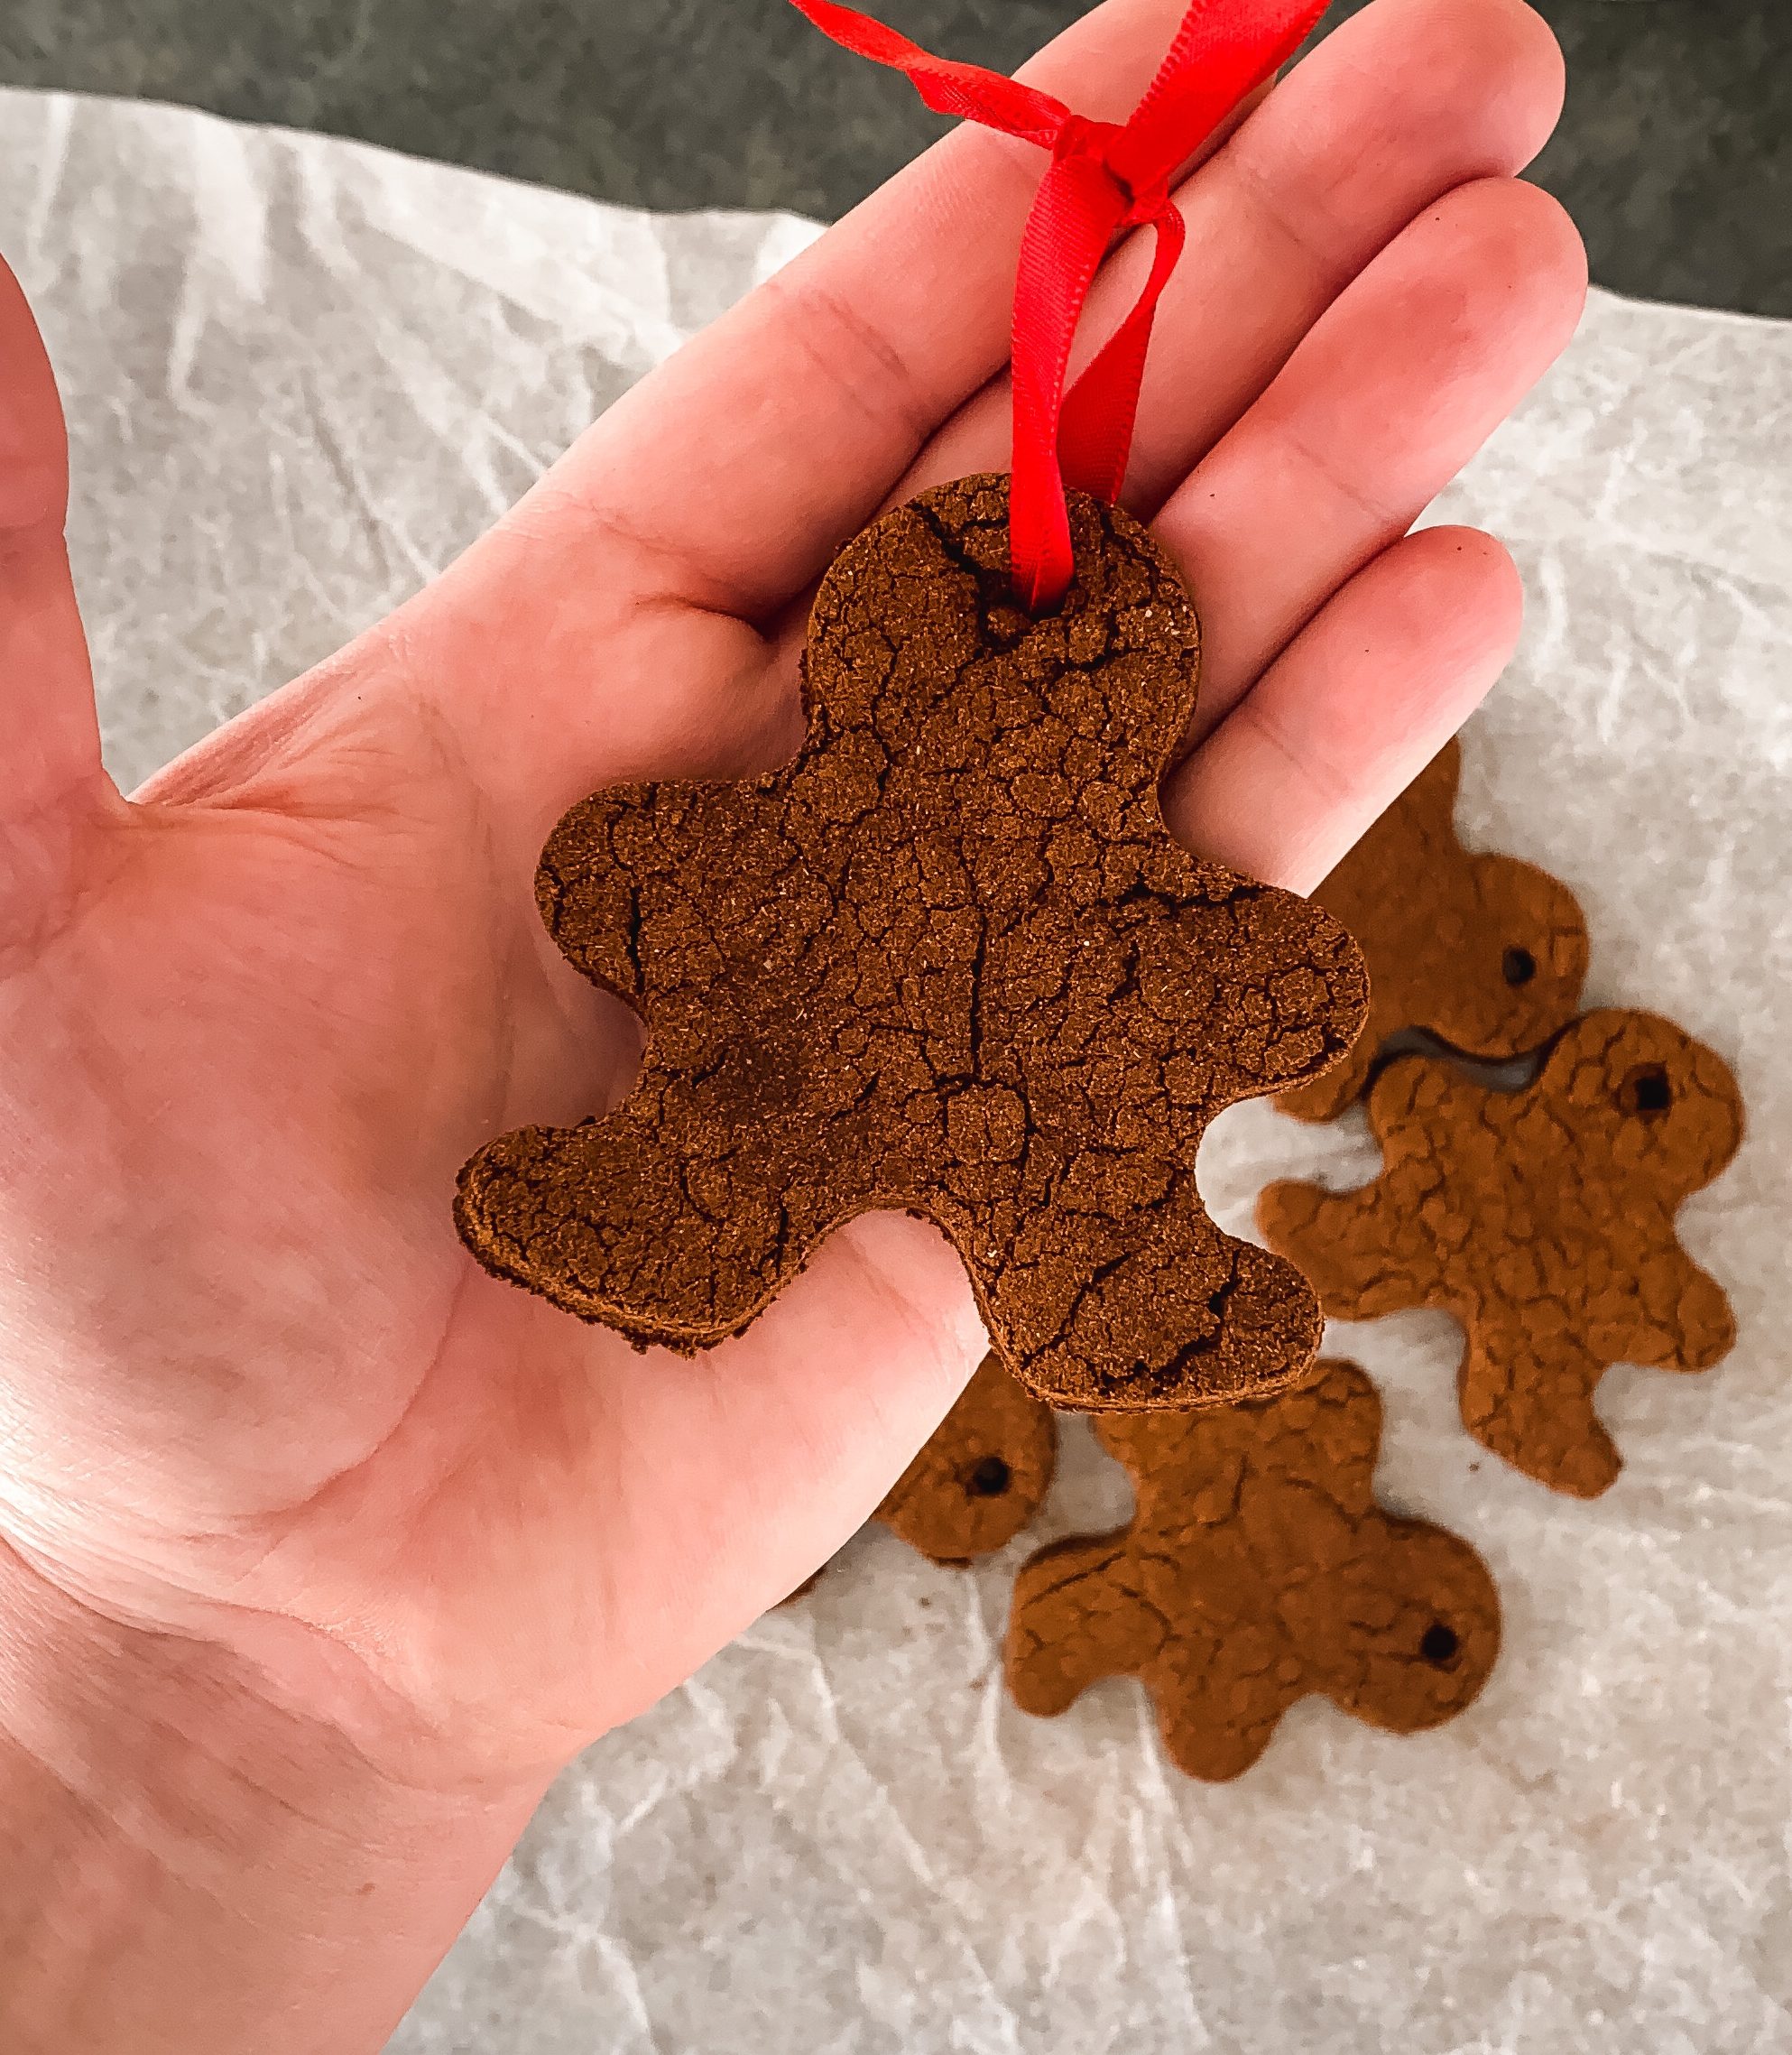
These are super easy ornaments to make and they were quite fun! And you likely already have the ingredients in your kitchen or can pick them up with your groceries.
I also very clearly remember making them with my mom when I was maybe 7? And I think she only threw them out a few years ago when they were crumbling, but they must have lasted close to 20 years and I remember it being loads of fun to do with her as a child (and to do by myself as an adult!).
Both of these items smell amazing while they are baking and I always find that helps to put you in the Christmas spirit.
Happy DIYing!
Laura


