
I was drawn to needlepoint during the first lockdown from some influencers (largely @carly and her stitch-tagram @carlysstitchclub on Instagram) but I didn’t actually order my first canvas until last June or July. It appealed to me over something like sewing or knitting, because the actually idea creation isn’t necessary. I’m not very good at coming up with original creative ideas, I’m not going to design some gorgeous new hand-sewn dress or knit sweater, but I am very good at following the guidelines of what someone else has done and making it my own. And my late Granny left me an unfinished tapestry when she passed when I was 13 that I have always wanted to finish and make into a fireplace cover. I don’t have a fireplace, but that’s not important.
Also these pictures are all taken from my Instagram stories, because when I did this project starting a blog was not even a thought I had yet.
Needlepoint is essentially paint-by-numbers but with thread instead of paint. So you buy, or if you’re creative paint your own, a painted canvas. They can come kitted, meaning with a needle and all the threads you need to stitch it, or as just the canvas. Kitted canvases are the easiest (and potentially slightly more cost effective?) than just canvases, but if you want to switch out colours or try different textures of threads then just getting the canvas is the better option. Painted canvases are not cheap, they are hand painted by artists and are frequently “stitch-painted” so there is no confusion about where you are supposed to put which colour. Basically, it is already a work of art before you even get your hands on it.
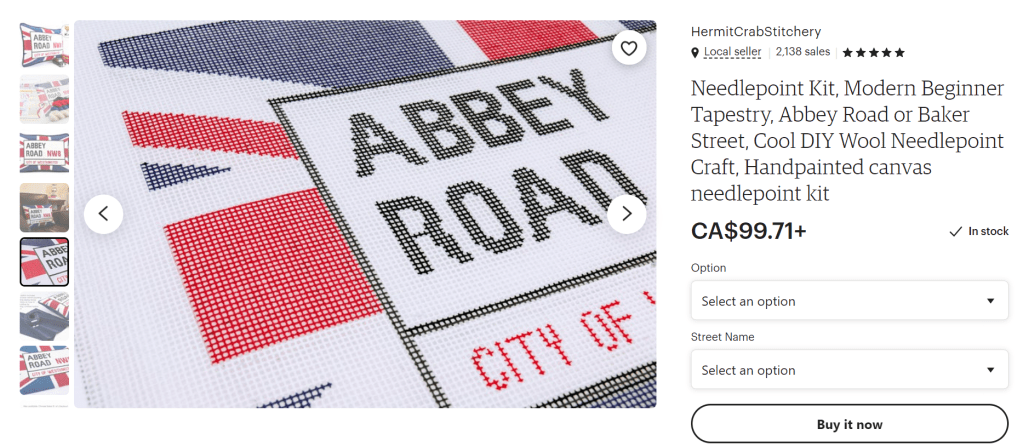
So I wanted to try my hand at it before jumping right into the partially-finished one left by my Granny, so I got on Etsy and I found a fabulous beginners kit.
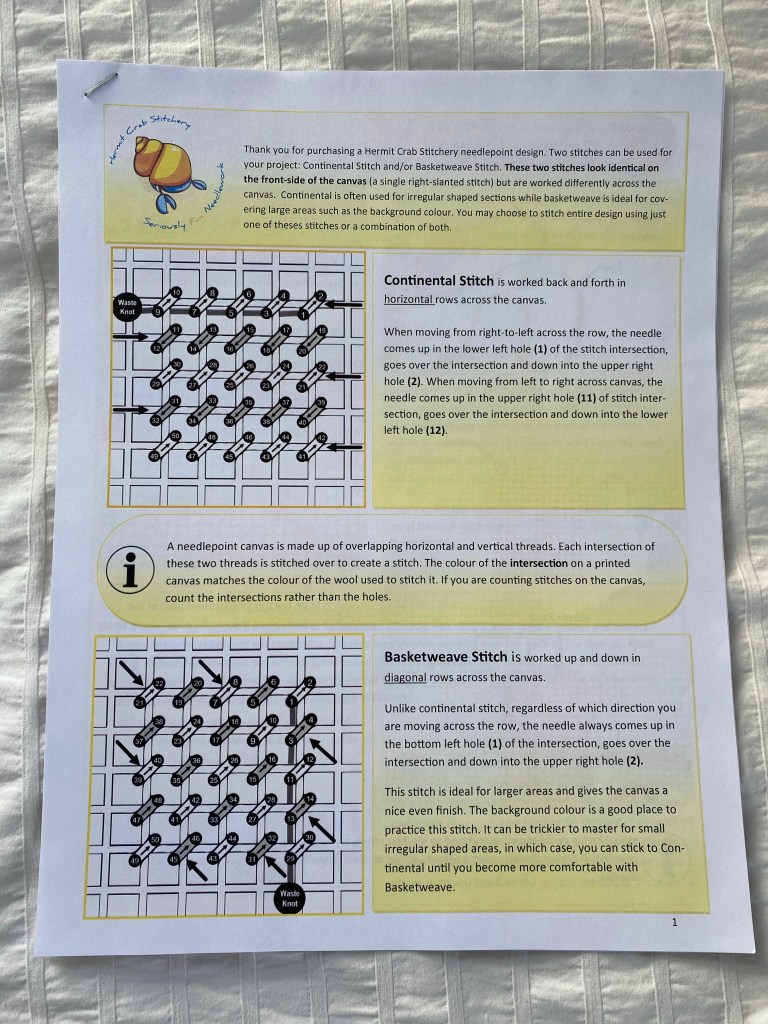
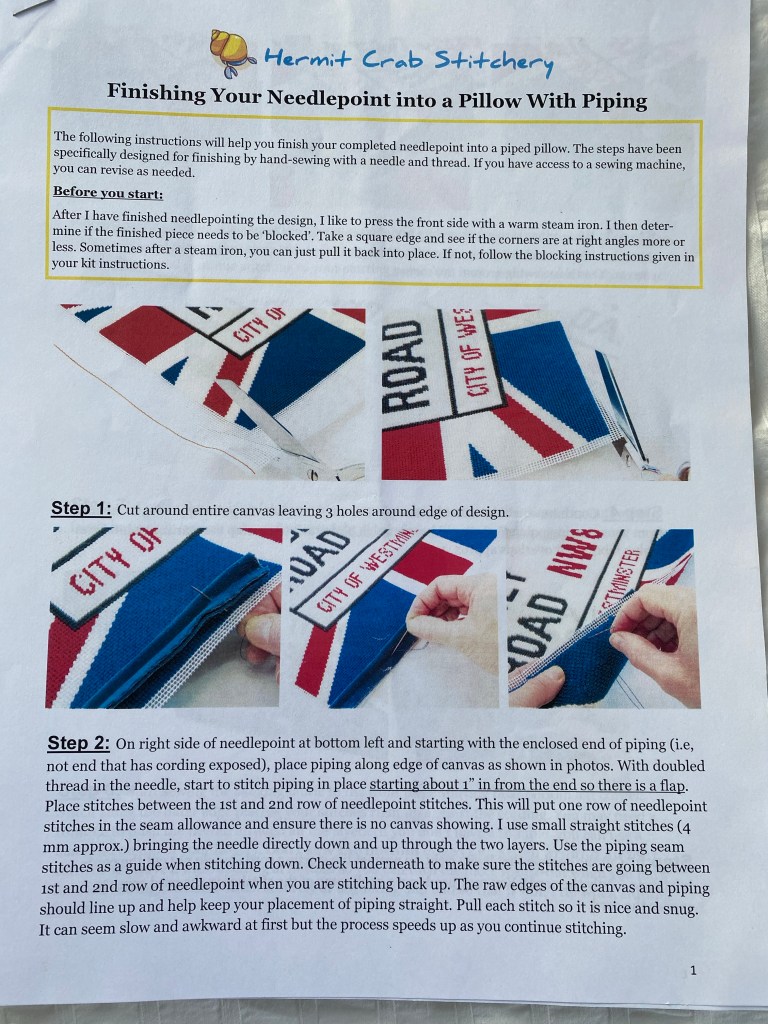
One of the main things I love about the kit and why I think it is so perfect for a beginner, even though it is a large first project. Its size means that the letters aren’t small and fiddly, there are only 4 colours for colour changes, and it comes with fantastic instructions. It has instructions on two different types of tent stitch and instructions for how to finish it into the pillow using the trim and fabric that comes in the kit. Basically, the only thing you need to buy to complete this besides the kit is the pillow for stuffing it, and a needle and thread to sew the back to the front if you don’t already have those items.
But the instructions. It’s a little confusing at first if you don’t know anything about needlepoint or sewing (me for the most part before this). And they are great. I ended up using continental stitch because it seemed to make more sense to me to work cross the rows rather than diagonally. Also the back of my work is hideous. Some needlepointers really care that the back of your work looks exactly like the front, mine is twisted and tangled and knotted and it doesn’t seem to have had any impact on the finished product!
One of the first things I learned from creeping through needlepoint Instagram is that you start with your lightest colour. This is because if you start with black you could bring little bits of the black thread through and get it trapped in your lighter stitches and then your white sections look like they have little black speckles in it or you can see where you have run your anchoring threads behind the canvas. When you do dark colours after the light colours there are two stitch layers that help the dark anchor thread not show through. Now I feel like I need to explain anchor threads, you don’t tie knots on the back of your needlepoint canvas because when you finish it, the pillow, the back of the frame, the board you use for your standup/ornament, will push the knot into the canvas and will show through as a bump on your finished product.
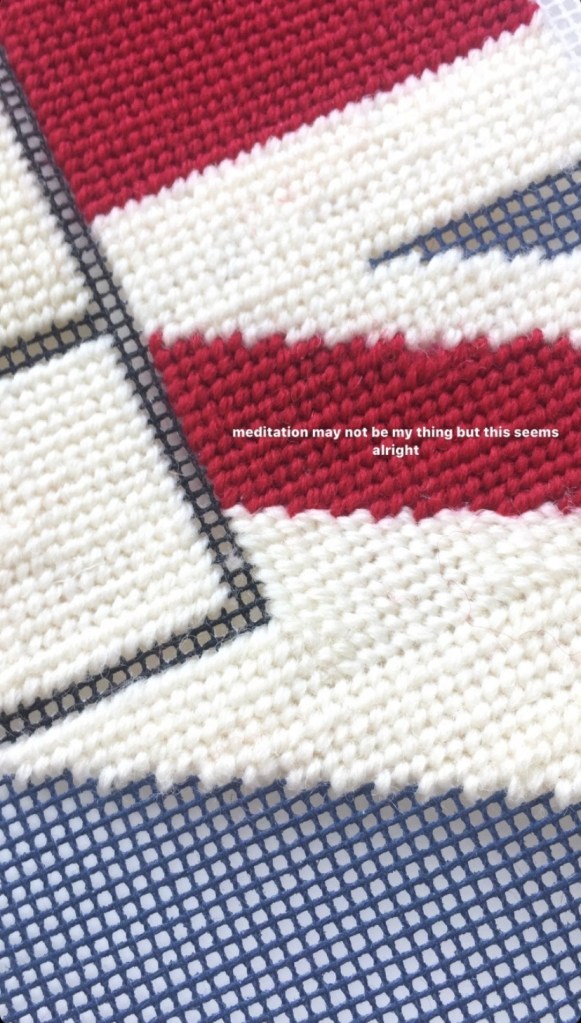

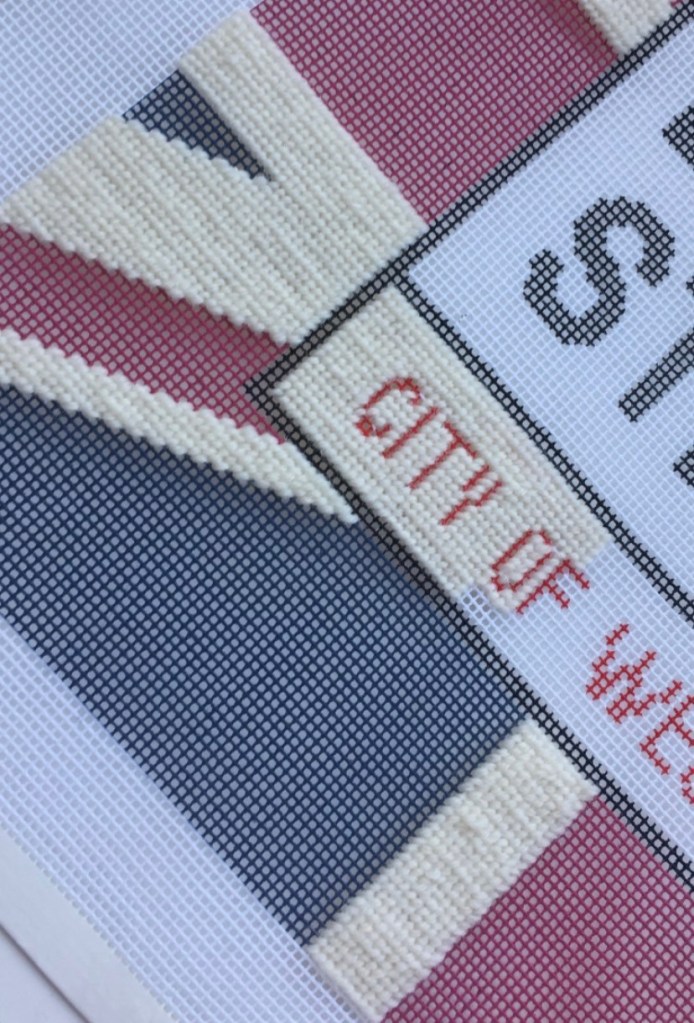
The actual stitching portion of the project is so soothing. And so satisfying. The 1-stitch wide letters were a little challenging and I was a little frustrate that on one side of the flag the diagonal lines look like steps versus on the other side where they are nice smooth lines, but now that I’m a little more experienced in the needlepoint world I’ve seen that it is very normal. All the tent stitches have basically the same look from the front. Which means that when you are working on a top-left to bottom-right diagonal it will look like little steps. You can do a reverse tent stitch if you want to have a smooth line on that diagonal, but I was too scared to deviate from the stitch instructions on my first project!
One of the coolest things about this kit, is that it is one of the only ones that I have seen that includes everything you need to finish it. It came with the piping and the fabric for the back and instructions for how to trim the canvas for finishing, stitch on the piping, and sew on the back. The one thing I wish I could adjust is to sew a smaller hole to stuff the pillow in so that there is less stitches that are visible on the bottom of the pillow, but overall I think it looks really great!
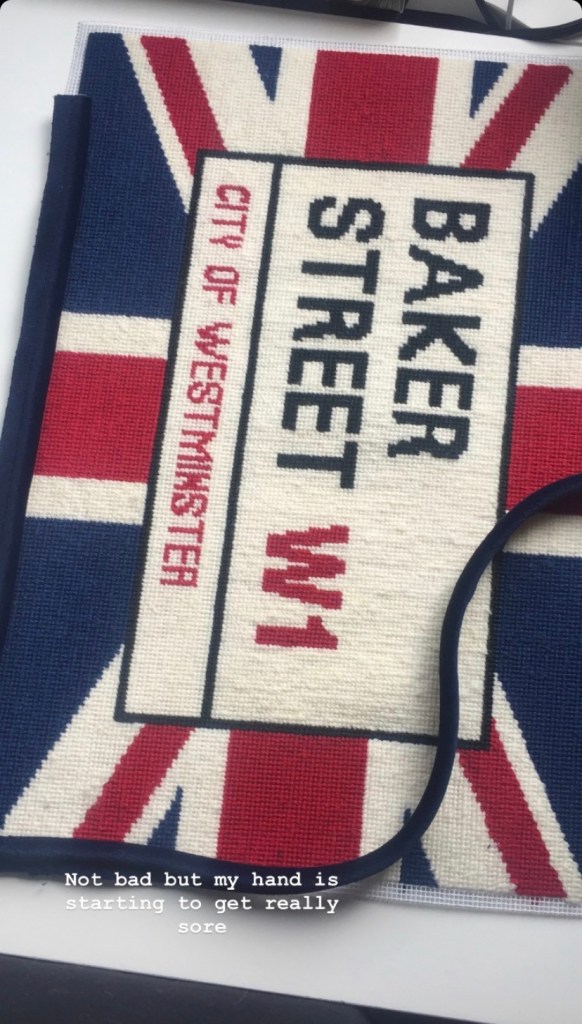
I can’t lie, the sewing on of the piping and the fabric back was really hard on the hands. There are two layers of fabric on the piping and then one layer of fabric when you’re sewing on the “wrong side” of the fabric. I would definitely recommend using gloves or a thimble or if you are comfortable using a machine do that, just to save your hands. Also getting the positioning right so that the stitches are basically underneath the piping was really tough for this inexperienced stitcher. I didn’t take any pictures of the sewing the back on, but basically you pin the backing fabric on with the “right sides together”. This basically means that the fuzzy side of the velvet, what you want to be on the back of the pillow is up against the side of the stitched canvas that you want to be the front, basically it’s inside out. You pin it together and sew it up, leaving enough room for you to stuff your pillow fill in. You could add a zipper in as well to make it easier to take the pillow in and out if you are planning on storing it or maybe cleaning it. I opted out of a zipper because it seemed like it would add a lot of sewing that was beyond my skill level. I then stuffed in the pillow and tried to sew it up in a way that would make the stitches disappear. They’re still slightly visible but I intentionally put them on the bottom of the pillow so that if the stitches weren’t totally invisible they would be hidden by the positioning of the pillow. I am however really proud of the finished product and think it turned out really well!

Laura


